
Easy Baseboard Repair: Restore Damaged Trim with Lasting Results
Baseboards take a beating in busy homes, especially around Central Louisiana, where muddy boots, shifting foundations, and high humidity all leave their mark. Scuffs from furniture, cracks from settling, and water stains from mop buckets or pet bowls can slowly turn crisp trim into a tired, damaged border along the walls. Repairing damaged baseboards involves assessing the extent of the harm, such as cracks or dents, and selecting appropriate materials like wood filler or replacement trim. Careful attention to what caused the problem in the first place—moisture, impact, or gaps—helps ensure that fresh repairs last longer and keep walls protected.
Quick Navigation:
Assessing Baseboard Damage and Causes | Step‑by‑Step Repair Methods for Solid, Lasting Results | Finishing, Protection, and Local Best Practices | Frequently Asked Questions
A simple repair often starts with cleaning away dust and old caulk so the surface is ready for strong adhesion. Then comes the hands-on work: filling dents and nail holes, tightening loose boards, and, when necessary, splicing in new pieces that match the existing profile. Thoughtful sanding brings everything flush and smooth, ready for a clean coat of finish. Once repaired, painting or staining matches the existing decor, extending the lifespan of baseboards and maintaining aesthetic appeal. Fresh caulk seals out drafts, dust, and moisture, an especially smart move for humid parishes from Alexandria to Pineville. With a bit of patience and the right approach, worn trim transforms back into a sharp, protective frame that makes every room feel more polished, sturdy, and well cared for.
Assessing Baseboard Damage and Causes
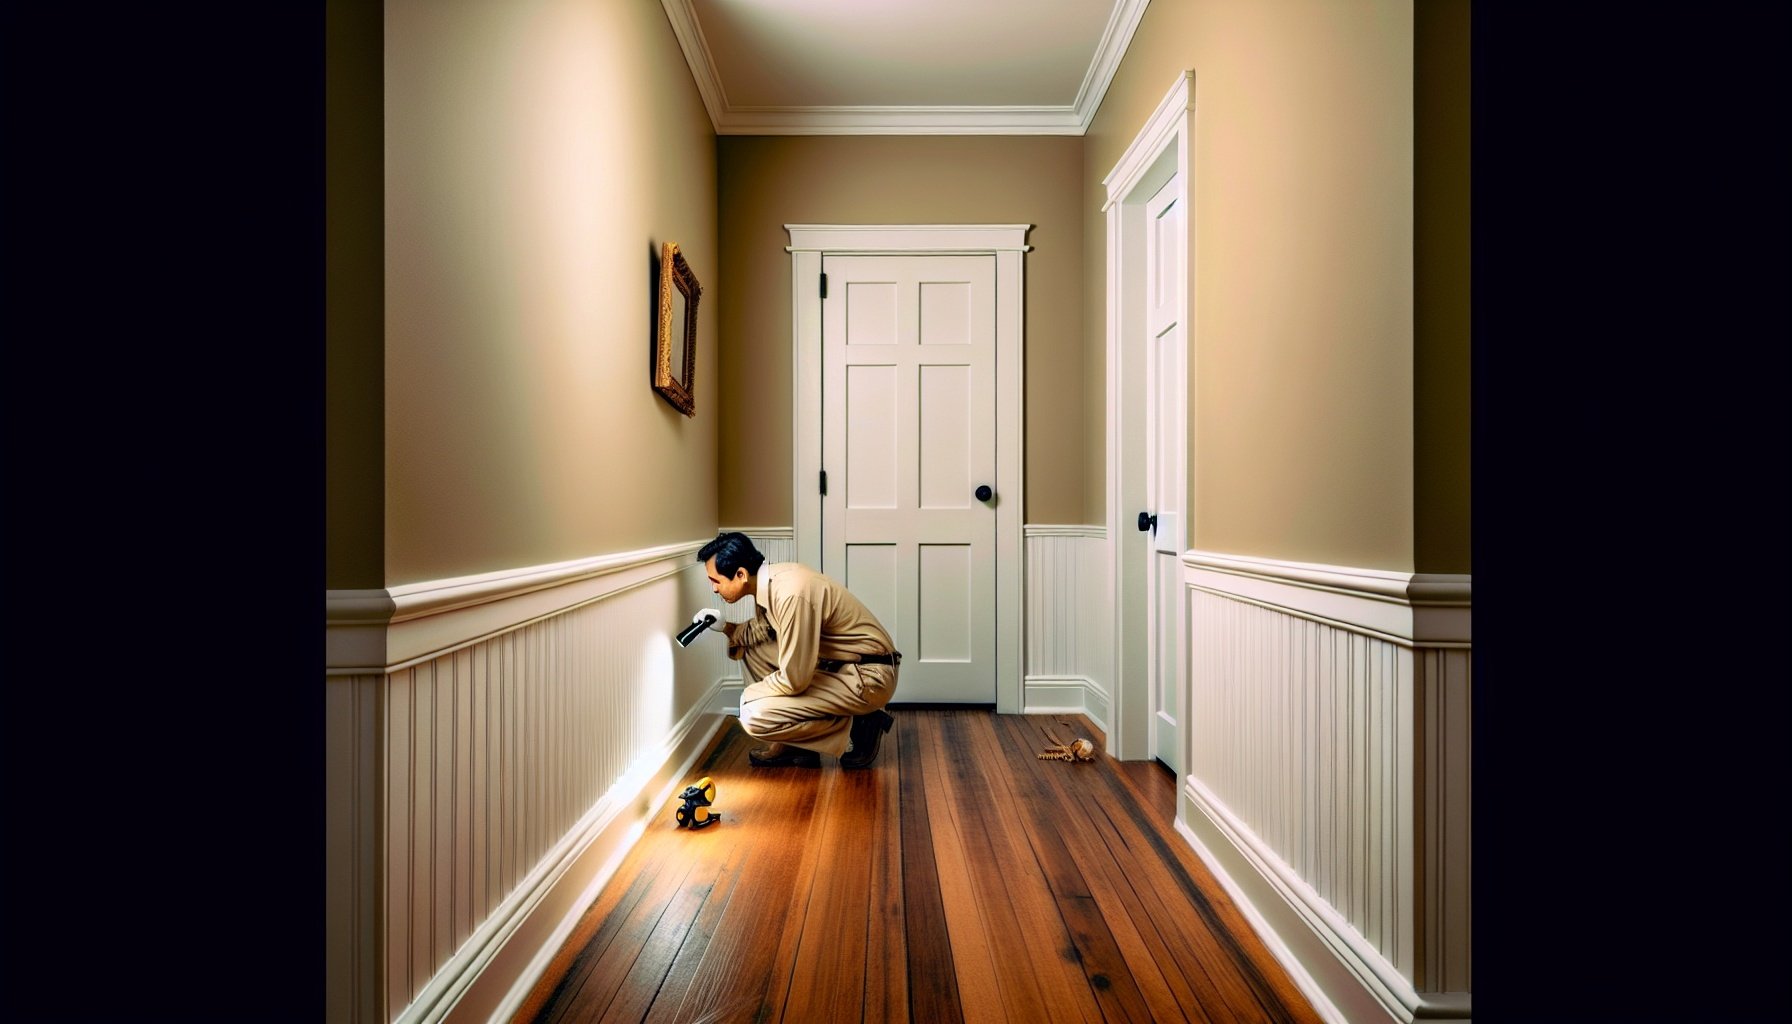
Before any repair begins, every baseboard needs a close look from end to end. Light shining across the surface reveals hidden warping, hairline splits, popped nail heads, and swollen spots that hint at past leaks or spills. Corners, doorways, and high-traffic halls around Central Louisiana often show the earliest signs of trouble, especially where vacuum cleaners, kids’ toys, and pet claws make regular contact. Gaps between trim and wall can point to more serious foundation movement, while soft or crumbly sections usually signal lingering moisture. Careful inspection of these details sets the stage for judging damage levels and pinpointing root causes.
Identifying common baseboard problems: scuffs, cracks, chips, water damage, and rot
Identifying specific baseboard problems starts with looking closely at both the face and the bottom edge of the trim. Scuffs usually show as gray or black marks that do not change the shape of the board and often come from sneakers or chair legs sliding along the wall. Cracks look like thin lines running along joints or corners and may open wider near doorways where foundations move more. Chips appear as missing chunks on edges or profiles, especially where vacuums or toys hit the trim. Water damage shows as raised grain, peeling paint, soft swollen spots, or yellow-brown stains near floors and outside walls. Rot goes further, turning wood spongy, crumbly, or dark, sometimes breaking apart with light finger pressure.
Pro Tip: Using recycled wood for baseboard repairs cuts material costs by 30% and lowers carbon emissions by reusing local resources, supporting sustainable home improvement practices.
Finding the source: moisture, impacts, pests, and gaps from settling in Central Louisiana homes
Finding the source of damage helps stop problems from coming back. Moisture often starts near kitchens, bathrooms, and exterior doors, where small leaks or wet mops soak the bottom edge of the trim. In Central Louisiana, heavy rain and high humidity push moisture through slab edges and under walls, so stained or swollen baseboards near outside walls hint at water entry. Impacts from moving furniture, kids’ toys, or vacuum cleaners leave dents and crushed corners along high‑traffic hallways. Tiny piles of sawdust, hollow‑sounding spots, or thin mud tubes can point to termites or carpenter ants common around the Red River area. Gaps opening at corners or where walls meet floors often trace back to normal settling in older Alexandria and pineville homes, which shifts trim out of alignment.
Worth Noting: The U.S. home repair market, including baseboard restoration, is projected to grow by 4.2% annually through 2025, driven by increased renovations in aging housing stock.
Source: Exploding Topics
Deciding on repair vs. replacement based on extent, location, and trim profile availability
Deciding between repair and replacement starts with how much of the baseboard is affected. Small dents, hairline cracks, and short water-stained sections usually respond well to filler, sanding, and paint. Long, soft, or crumbling stretches, especially along the bottom edge, often signal hidden rot and call for full board replacement. Location matters too. Damage behind sofas or in closets can tolerate a patched look, while open walls in living rooms, kitchens, or down a hall in a Central Louisiana ranch home benefit from cleaner, more uniform replacement. Trim profile availability also guides the choice. If the exact pattern is still sold at local lumber yards or big-box stores, swapping a full length creates a seamless match that keeps the overall trim style consistent.
Step‑by‑Step Repair Methods for Solid, Lasting Results
With the damage identified and trouble spots marked, the real work shifts to method and technique. Strong baseboard repairs depend on the right order of steps, consistent pressure on tools, and enough drying time between stages so materials bond properly. Simple tricks—like feathering wood filler past the damaged area, back‑caulking wide gaps along wavy walls, and using a sanding block instead of loose paper—help avoid wavy lines and weak patches. Careful masking, proper primer choice, and smart touch‑up strategies also keep repairs from flashing through the finish, setting up clear step‑by‑step methods for solid, lasting results.
Did you know? Wooden baseboards damaged by moisture swell due to hygroscopic properties, where fibers absorb water and expand up to 10% in width, requiring precise drying before repair to prevent cracking.
Preparing the work area: cleaning, removing caulk, and protecting floors and walls
Solid, lasting baseboard repair starts with a clean, protected work area. Dust, pet hair, and loose debris are wiped or vacuumed away so filler, caulk, and paint bond tightly instead of trapping grit. Old, cracked caulk along the top edge is scored with a sharp utility knife, then gently pried out with a flexible putty knife, keeping the blade flat to avoid gouging drywall or trim. Any remaining residue is rubbed off with a damp rag or mild cleaner and allowed to dry fully. Painter’s tape is then run along the flooring and wall edges, and drop cloths or rosin paper are laid down to shield tile, vinyl, or hardwood from drips, sanding dust, and accidental scuffs during the repair process.
Interesting Fact: Restoration techniques for wooden baseboards in historic buildings evolved from 19th-century manual carpentry to modern non-invasive methods, preserving architectural integrity while adapting to contemporary standards.
Source: npj Heritage Science
Filling dents, nail holes, and minor cracks with wood filler or putty, then sanding smooth
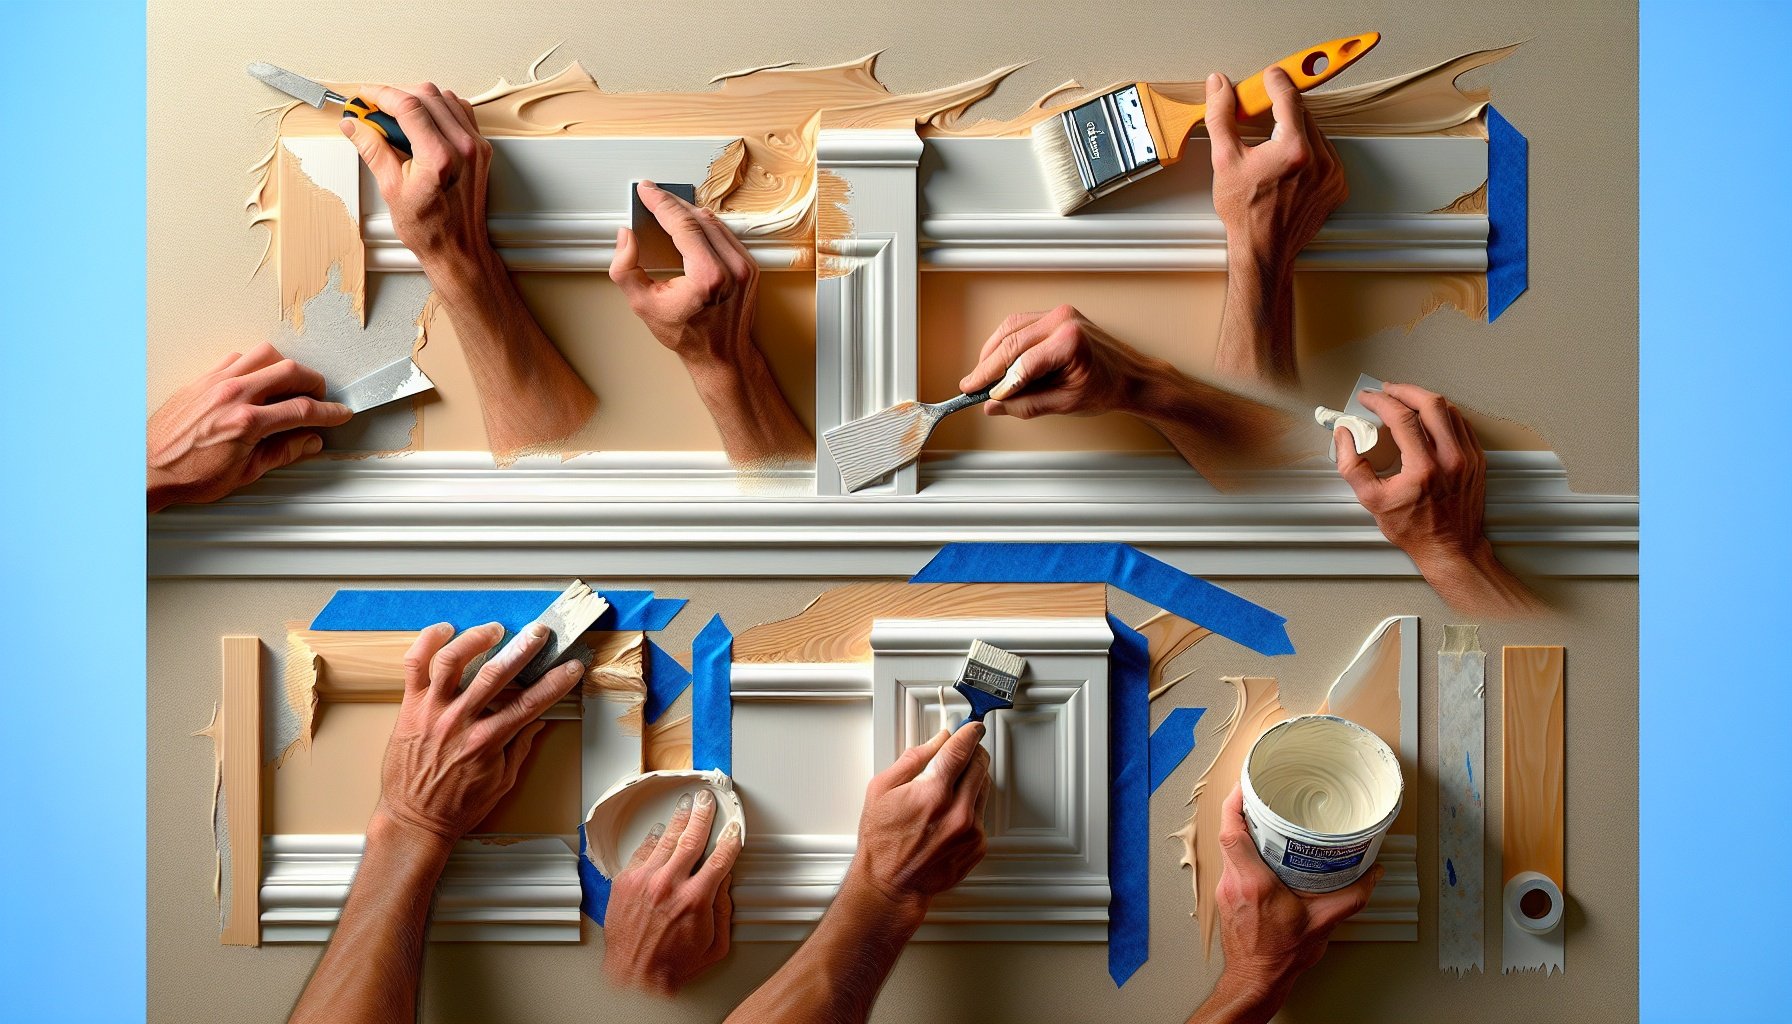
Once caulk and dust are cleared away, dents, nail holes, and fine cracks become easier to see and treat. Shallow defects take a pre‑mixed wood filler or painter’s spackling, while deeper gouges or chipped corners need a heavier two‑part epoxy or solvent‑based wood filler labeled for trim. Filler is pressed firmly into each hole with a putty knife, slightly overfilling to allow for sanding. Narrow cracks along the face of the baseboard are packed from both sides so the filler bonds fully. After drying to the time listed on the container, excess is leveled with 120–150‑grit sandpaper, then refined with 180–220‑grit for a smooth, feathered surface that disappears once primed and painted.
Repairing severe damage: splicing in new sections, fixing loose boards, and resetting fasteners
Repairing severe damage starts with finding any baseboard sections that are split, rotten, or pulled away from the wall. Short, badly damaged runs get cut out cleanly between studs or corners, then replaced with new trim that matches the profile. Fresh pieces are dry‑fitted first, then fastened with finish nails driven into studs so seams stay tight and solid. Loose boards are pressed flat to the wall and reattached, replacing old nails with screws or new brads when needed for a stronger grip. Any popped nail heads or proud screws are reset just below the surface with a nail set, creating shallow recesses that accept filler and sanding for a smooth, continuous baseboard ready for priming and painting.
Finishing, Protection, and Local Best Practices
Once damage is patched and profiles look straight again, the real durability comes from smart finishing choices and protection. Repairing damaged baseboards involves assessing the extent of the harm, such as cracks or dents, and selecting appropriate materials like wood filler or replacement trim, but long‑lasting results depend on the coatings and habits that follow. Primer locks in stains and helps paint grab onto patched areas, while quality trim paint stands up better to kids, pets, and everyday scuffs. In Central Louisiana, moisture‑resistant products, gentle cleaning routines, and a few local best practices keep fresh repairs looking sharp for years to come.
Priming and painting or staining to blend repair with existing trim and decor
Priming locks in patched areas so paint or stain bonds evenly instead of soaking in and flashing. Spot-prime repairs with a stain-blocking primer, then lightly scuff once dry to keep edges smooth where old finish meets new work. For painted baseboards, match the existing sheen: flat or eggshell for a subtle look, semi-gloss or gloss for wipeable trim in busy hallways, kitchens, and mudrooms. Brush along the length of the trim, then finish with long, light strokes to blend into the surrounding surface. For stained or clear-coated baseboards, test stain on a scrap or hidden spot, then build color in thin coats before sealing with a clear polyurethane, lacquer, or water-based topcoat that matches the original finish.
Did you know? Innovative 3D scanning technology now allows precise replication of damaged baseboards in heritage sites, reducing restoration time by 50% compared to traditional molding methods.
Source: ArchDaily
Recaulking gaps at walls and floors to seal against dust, drafts, and moisture
Recaulking gaps at walls and floors to seal against dust, drafts, and moisture
After paint or stain dries, fresh caulk closes small gaps that open along the top and bottom of baseboards. Flexible paintable latex caulk works well where trim meets drywall, while a more durable, mildew-resistant formula helps along tile or in damp areas like Bathrooms and kitchens. Old, cracked caulk should be sliced out with a sharp utility knife and residue wiped away so new material can bond properly.
A steady bead along the joint, smoothed with a damp finger or tool, bridges hairline cracks and tiny gaps in repaired areas. This tight seal keeps dust from building along edges, blocks cold drafts at exterior walls, and helps stop mop water or spills from sneaking under baseboards and soaking the wall framing behind them.

Worth Noting: In Japanese architecture, repairing baseboards involves intricate joinery techniques passed through generations, symbolizing respect for ancestral craftsmanship and harmony with natural materials.
Source: ArchDaily
Preventing future damage in humid Central Louisiana conditions with proper materials and maintenance
Humid Central Louisiana air, frequent storms, and occasional flooding push baseboards hard, so durable materials and steady upkeep matter. Moisture-resistant MDF or PVC trim holds up better in bathrooms, laundry rooms, and near exterior doors than standard MDF that swells and flakes. For wood baseboards, a quality enamel paint with a semi-gloss or satin sheen sheds mopping water and mud tracked in after a rainy day at the Red River. All cut ends and scarf joints need to be sealed with primer and finish paint so humidity cannot wick inside. Regular walk-throughs catch soft spots, peeling paint, or new gaps at floors early, especially in older homes from neighborhoods around Alexandria, Pineville, and Marksville, where humidity never really lets up.
Conclusion
Repairing damaged baseboards involves assessing the extent of the harm, such as cracks or dents, and selecting appropriate materials like wood filler or replacement trim. Careful prep, from cleaning the surface to checking for soft, moisture-damaged spots, keeps problems from coming back. Feathering filler, back-caulking wide gaps, and sanding with a block help create smooth, invisible transitions, even around busy corners and doorways. Once repaired, priming and using quality trim paint lock everything in, protect against everyday scuffs, and stand up better to Central Louisiana’s humid conditions. With a little patience, the right sequence, and smart maintenance habits, baseboards can look sharp for years. Now is a great time to tackle that tired trim and bring fresh life back to the room.
Frequently Asked Questions
- What causes baseboards to get damaged so often in busy homes, especially around Central Louisiana?
- Baseboards sit at the most vulnerable spot in a room—the bottom of the wall—so they take constant abuse. In Central Louisiana, extra moisture, muddy boots, pet claws, kids’ toys, and moving furniture all add up.
Common baseboard damage includes:
– Scuffs and scratches from shoes, vacuum cleaners, and pets
– Dents and gouges from furniture bumps and dropped items
– Water damage from mopping, spills, or minor flooding
– Warping or swelling in humid conditions or after leaks
– Separation from the wall when nails loosen or caulk dries outBecause baseboards are usually made of wood, MDF, or similar materials, they absorb moisture easily and mark up fast. Regular touch-ups and quick repairs keep them looking sharp and help protect the wall edges in high-traffic Louisiana homes.
- How can minor baseboard scratches and scuffs be repaired without replacing the trim?
- Light wear on baseboards is simple to fix with basic supplies. For surface-level scratches, scuffs, and small dents, a quick repair often restores a clean, smooth look.
Steps for minor repairs:
1. Clean the area
Wipe the baseboard with a damp cloth and mild soap to remove dirt, dust, and oils. Let it dry fully.2. Lightly sand
Use fine-grit sandpaper (180–220 grit) to smooth scratches and rough edges. Always sand with the grain of the wood or the direction of the existing finish.3. Fill small dents or chips
Apply a lightweight spackle or wood filler to dents and shallow gouges. Press it in with a putty knife and scrape off excess.4. Sand smooth again
After the filler dries, lightly sand until the repair blends with the rest of the trim.5. Touch up paint or stain
Use matching trim paint or stain to cover the repair. For painted baseboards, semi-gloss or satin finishes are common. Two thin coats give better coverage than one thick coat.These simple steps keep trim looking fresh while avoiding the cost and time of full replacement.
- What is the right way to repair chipped or cracked baseboards so the fix lasts?
- Lasting repairs start with proper prep and the right materials. Chipped or cracked sections need to be cleaned, filled, and sealed so the damaged area does not reopen or crumble.
A solid repair approach:
1. Inspect the damage
Make sure the baseboard is still firmly attached to the wall. If it is loose, re-nail or re-screw it to the studs before repairing the surface.2. Remove loose pieces
Gently pry away any flaking or broken trim with a putty knife. The repair should only sit on solid material.3. Clean and dry
Wipe away dust, dirt, and any moisture. Damp wood or MDF will not hold filler well.4. Use quality filler
For deeper chips or cracks, use a wood filler or epoxy wood repair product instead of basic spackle. These products harden stronger and resist future cracking.5. Shape and sand
Overfill slightly, let it dry, then sand the repair to match the profile of the baseboard. A sanding sponge works well on curved or detailed trim.6. Prime and paint
Prime the patched area to seal the filler, then paint the entire length of the board for a seamless finish.Properly filled and sealed repairs look clean, handle daily bumps, and hold up better in the humid Central Louisiana climate.
- How should water-damaged or swollen baseboards be handled?
- Water-damaged baseboards need fast attention to prevent mold, rot, and recurring problems. Swollen, soft, or stained trim often means moisture has soaked into the material.
Key steps for dealing with water damage:
1. Find and fix the moisture source
Check for leaks, plumbing issues, standing water, or gaps that let water in. Repairing the baseboard without stopping the moisture leads to repeat damage.2. Check the material condition
– If the baseboard is soft, crumbly, or heavily swollen, replacement is usually the best option.
– If the damage is light staining or slight swelling, careful repair may be possible.3. Remove damaged sections if needed
Cut out only the affected portion with a saw, following the existing joints when possible. Keep cuts straight and clean.4. Dry everything thoroughly
Use fans and ventilation to dry the wall and remaining trim. Trapped moisture leads to odor and mold.5. Repair or replace
– For minor swelling: sand flat, fill imperfections, then prime with a stain-blocking primer before painting.
– For severe damage: install new baseboard sections, caulk gaps, and paint to match.Homes across Central Louisiana often deal with moisture from storms, spills, and high humidity, so water-resistant paints and careful sealing offer strong long-term protection.
- When is it better to replace a section of baseboard instead of repairing it?
- Patch repairs work well for light to moderate damage, but some situations call for full or partial replacement to keep trim looking clean and solid.
Replacement is usually better when:
– Baseboards are badly warped or bowed and will not sit flat against the wall.
– Large chunks are missing or broken off, especially at corners or doorways.
– Water damage is severe, leaving the material soft, spongy, blackened, or moldy.
– Cracks run the full length of the board or keep reopening after repairs.
– Multiple repairs on the same board make it look patchy or uneven.A common approach is to:
– Replace only the damaged boards in that wall section.
– Match the profile, height, and material of the existing trim.
– Use proper nails, adhesive (if needed), caulk at the top edge, and fresh paint.This method keeps costs under control while delivering a clean, “like-new” look that holds up against busy Central Louisiana traffic and daily wear.
- What tools and materials are most useful for DIY baseboard repair?
- Baseboard repair usually does not require advanced tools, but having the right basics makes the job smoother and the results more professional.
Helpful tools:
– Utility knife
– Putty knife or scraper
– Hammer and finish nails or a nail gun
– Pry bar (for removing damaged trim)
– Measuring tape and pencil
– Miter saw or hand saw (for cutting new sections)
– Sandpaper (120–220 grit) or sanding sponge
– Caulk gun
– Painter’s tape and drop clothsCommon materials:
– Wood filler or epoxy wood repair compound
– Lightweight spackle (for minor imperfections)
– Paintable caulk (for sealing gaps at the top and between joints)
– Primer (stain-blocking primer for water spots)
– Trim paint (usually semi-gloss or satin)
– Replacement baseboard material, if neededWith these supplies, most scuffs, dings, and small damaged sections can be repaired cleanly, leaving trim looking neat and well cared for in any room.
- How can baseboards be kept looking good longer after repairs are done?
- A few simple habits go a long way toward keeping freshly repaired baseboards in great shape, even in busy Central Louisiana homes with lots of foot traffic.
Smart maintenance tips:
– Use durable paint: Semi-gloss or satin trim paint resists scuffs and wipes clean easier than flat paint.
– Seal gaps with caulk: Caulk along the top edge and corners to block dust, drafts, and moisture.
– Clean gently but regularly: Wipe baseboards with a soft cloth or sponge and mild cleaner. Avoid soaking them with water.
– Add floor protection: Use felt pads under furniture legs and sliders when moving heavy pieces.
– Watch for early signs of trouble: Look for separating joints, peeling caulk, or new stains after storms or spills.
– Protect high-traffic areas: Mudrooms, entryways, and hallways around places like school zones, ball fields, and festival routes see more abuse, so touch up paint and repairs in these areas more often.Regular care keeps trim sharp, supports the overall look of the room, and reduces the need for full replacement down the road.